
Platform Overview
Your first 30 minutes on XHack — sign in, register an asset, run a scan, invite your team, and connect a notification channel.
Platform Overview
This page is the playbook for your first day on XHack. Follow it top to bottom and by the end you'll have an asset registered, a scan running, your team invited, and Slack notifications wired up. Total time: about 30 minutes.
Step 1 — Sign in and find your way around
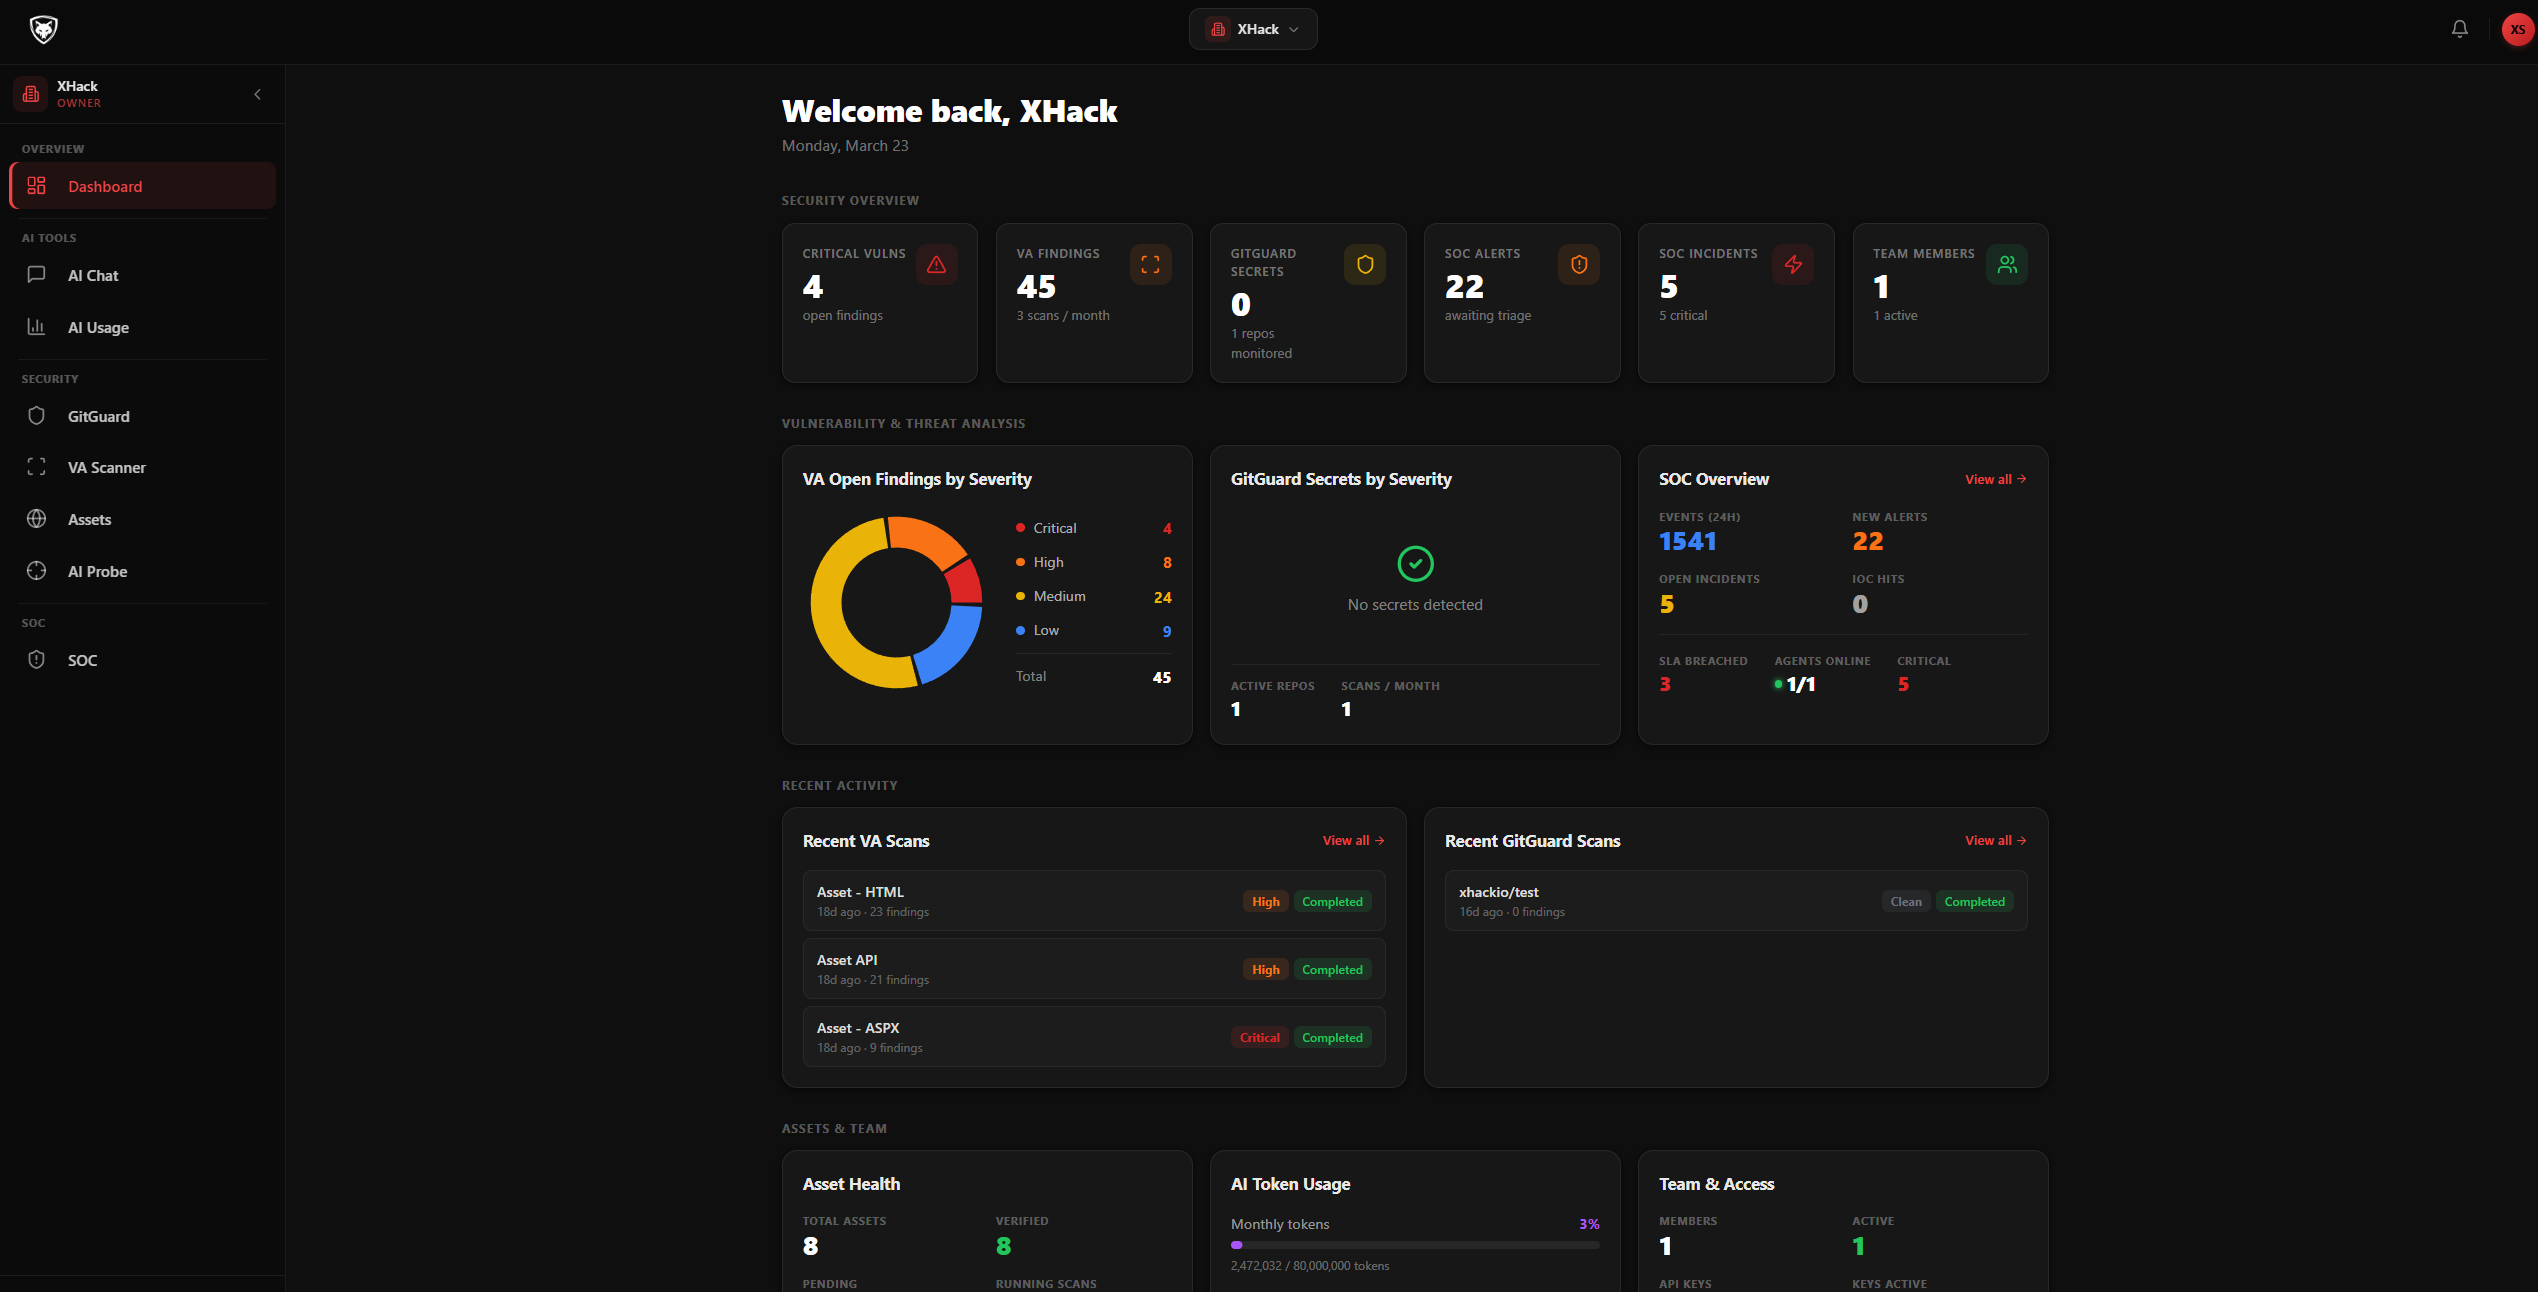
Open app.xhack.io in your browser and sign in. After login you land on the Dashboard page at /tenant/<your-id>/dashboard. The left sidebar is your map: Dashboard, SOC, VA, AI Probe, GitGuard, Assets, Settings. Click any sidebar item to switch tools — your context (selected tenant, login session) is preserved across all of them.
If you're an Owner or Admin, you'll also see a Settings entry at the bottom. That's where every administrative concern lives.
Step 2 — Register your first asset
Almost every tool needs at least one asset to act on. Click Assets in the sidebar.
- Click Add Asset (top right).
- In the Add New Asset dialog, fill in:
- Name — friendly label like "Production Website"
- Target — the actual URL or IP, e.g.
https://example.com - Asset Type — pick
Web Application,API,IP Address,IP Range, orNetwork - Tags — comma-separated, e.g.
production, frontend
- Click Add Asset.
For URL-based assets, you'll be asked to verify ownership:
- Click Verify in the asset row.
- Click Generate Verification File.
- Click Download and place the file at the URL shown (e.g.
https://example.com/xhack-verify-abc123.txt). - Click Verify Now.
For IP-based assets, you'll see a yellow notice: "IP-based assets require admin verification." — a platform admin will approve it manually.
Step 3 — Run a vulnerability scan
Once your asset shows the green Verified chip, switch to VA in the sidebar.
- Click Start scan and pick the verified asset.
- The scan dashboard opens and findings appear live as they're confirmed.
- You can leave the page — the scan runs in the background and you'll get a notification when it's done.
Click any finding to see the full request/response evidence and the AI-generated mitigation plan. Use the audience switcher (Developer / Executive / Project Manager) to get the right level of detail for who you're sharing it with.
Step 4 — Invite your team
Open Settings → Team Members in the sidebar.
- Click Invite Member (top right).
- Enter their email and pick a role from the dropdown.
- Click Send Invite. They get an email with a one-click join link.
Default roles cover most teams:
- Owner — everything, including billing
- Admin — everything except billing
- Member — use features but not configure them
If you need finer control, go to Settings → Roles and create a custom role with only the permissions you want (e.g. a "VA Operator" with va.run and va.view only).
Step 5 — Wire up notifications
Open Settings → Integrations.
- Click Add Webhook.
- Pick a platform: Slack, Discord, Microsoft Teams, n8n, or Generic.
- Paste the webhook URL from your Slack/Discord/Teams admin panel.
- Tick the events you want to be notified about: scan complete, vulnerability found, VA scan failed, etc.
- Click Test to send a test message.
- Click Save.
From now on, every matching event in your tenant fires a notification to your channel.
Step 6 — Pick your next move
You now have the basics. Pick whichever tool matches your immediate need:
- Defending production traffic? → SOC Dashboard — set up log sources, write detection rules, manage incidents
- Auditing a web app? → Vulnerability Assessment — full scan workflow and remediation
- Shipping AI features? → AI Probe — register an LLM endpoint and run the OWASP LLM Top 10
- Reviewing pull requests? → GitGuard — connect a GitHub repo and get security review on every PR
Tips before you scale up
- Always verify assets before scanning. Unverified assets cannot be scanned — this is on purpose, to prevent accidental scans of someone else's property.
- Start with one rule, not all of them. When you enable SOC detection, turn on the pre-built rules for the attack classes you actually care about. Adding all 40+ at once will give you alert fatigue on day one.
- Use the Test button. Every integration has a Test button (webhooks, log sources, AI Probe targets). Use it before saving — the platform will not save broken integrations silently.
- Watch your quota. Each plan has monthly limits for VA scans, AI tokens, members, and storage. The Settings → Billing page shows current usage at a glance.
- Set up MFA today. Open Settings → MFA and enroll. If you administer the tenant, also enable MFA enforcement so everyone on the team must enroll too.
Privacy
XHack is multi-tenant by design. Every record — from raw SOC events to AI Probe conversation history — is scoped to your tenant and never shared across organizations. Sensitive credentials (API keys, webhook secrets, integration tokens) are encrypted at rest with Fernet. You can hard-delete any record at any time.
Related
Try XHack AI Now
Experience the full power of XHack directly in your browser. No installation required.
Launch XHack AI