
Detection Rules
Step-by-step playbook for writing, testing, and managing detection rules — custom, threshold, and Sigma — plus log sources and suppressions.
Detection Rules
This is the operator's manual for the rule engine that drives the SOC. It covers writing your first rule, testing it before going live, using AI to draft rules, configuring log sources, and silencing false positives with suppressions.
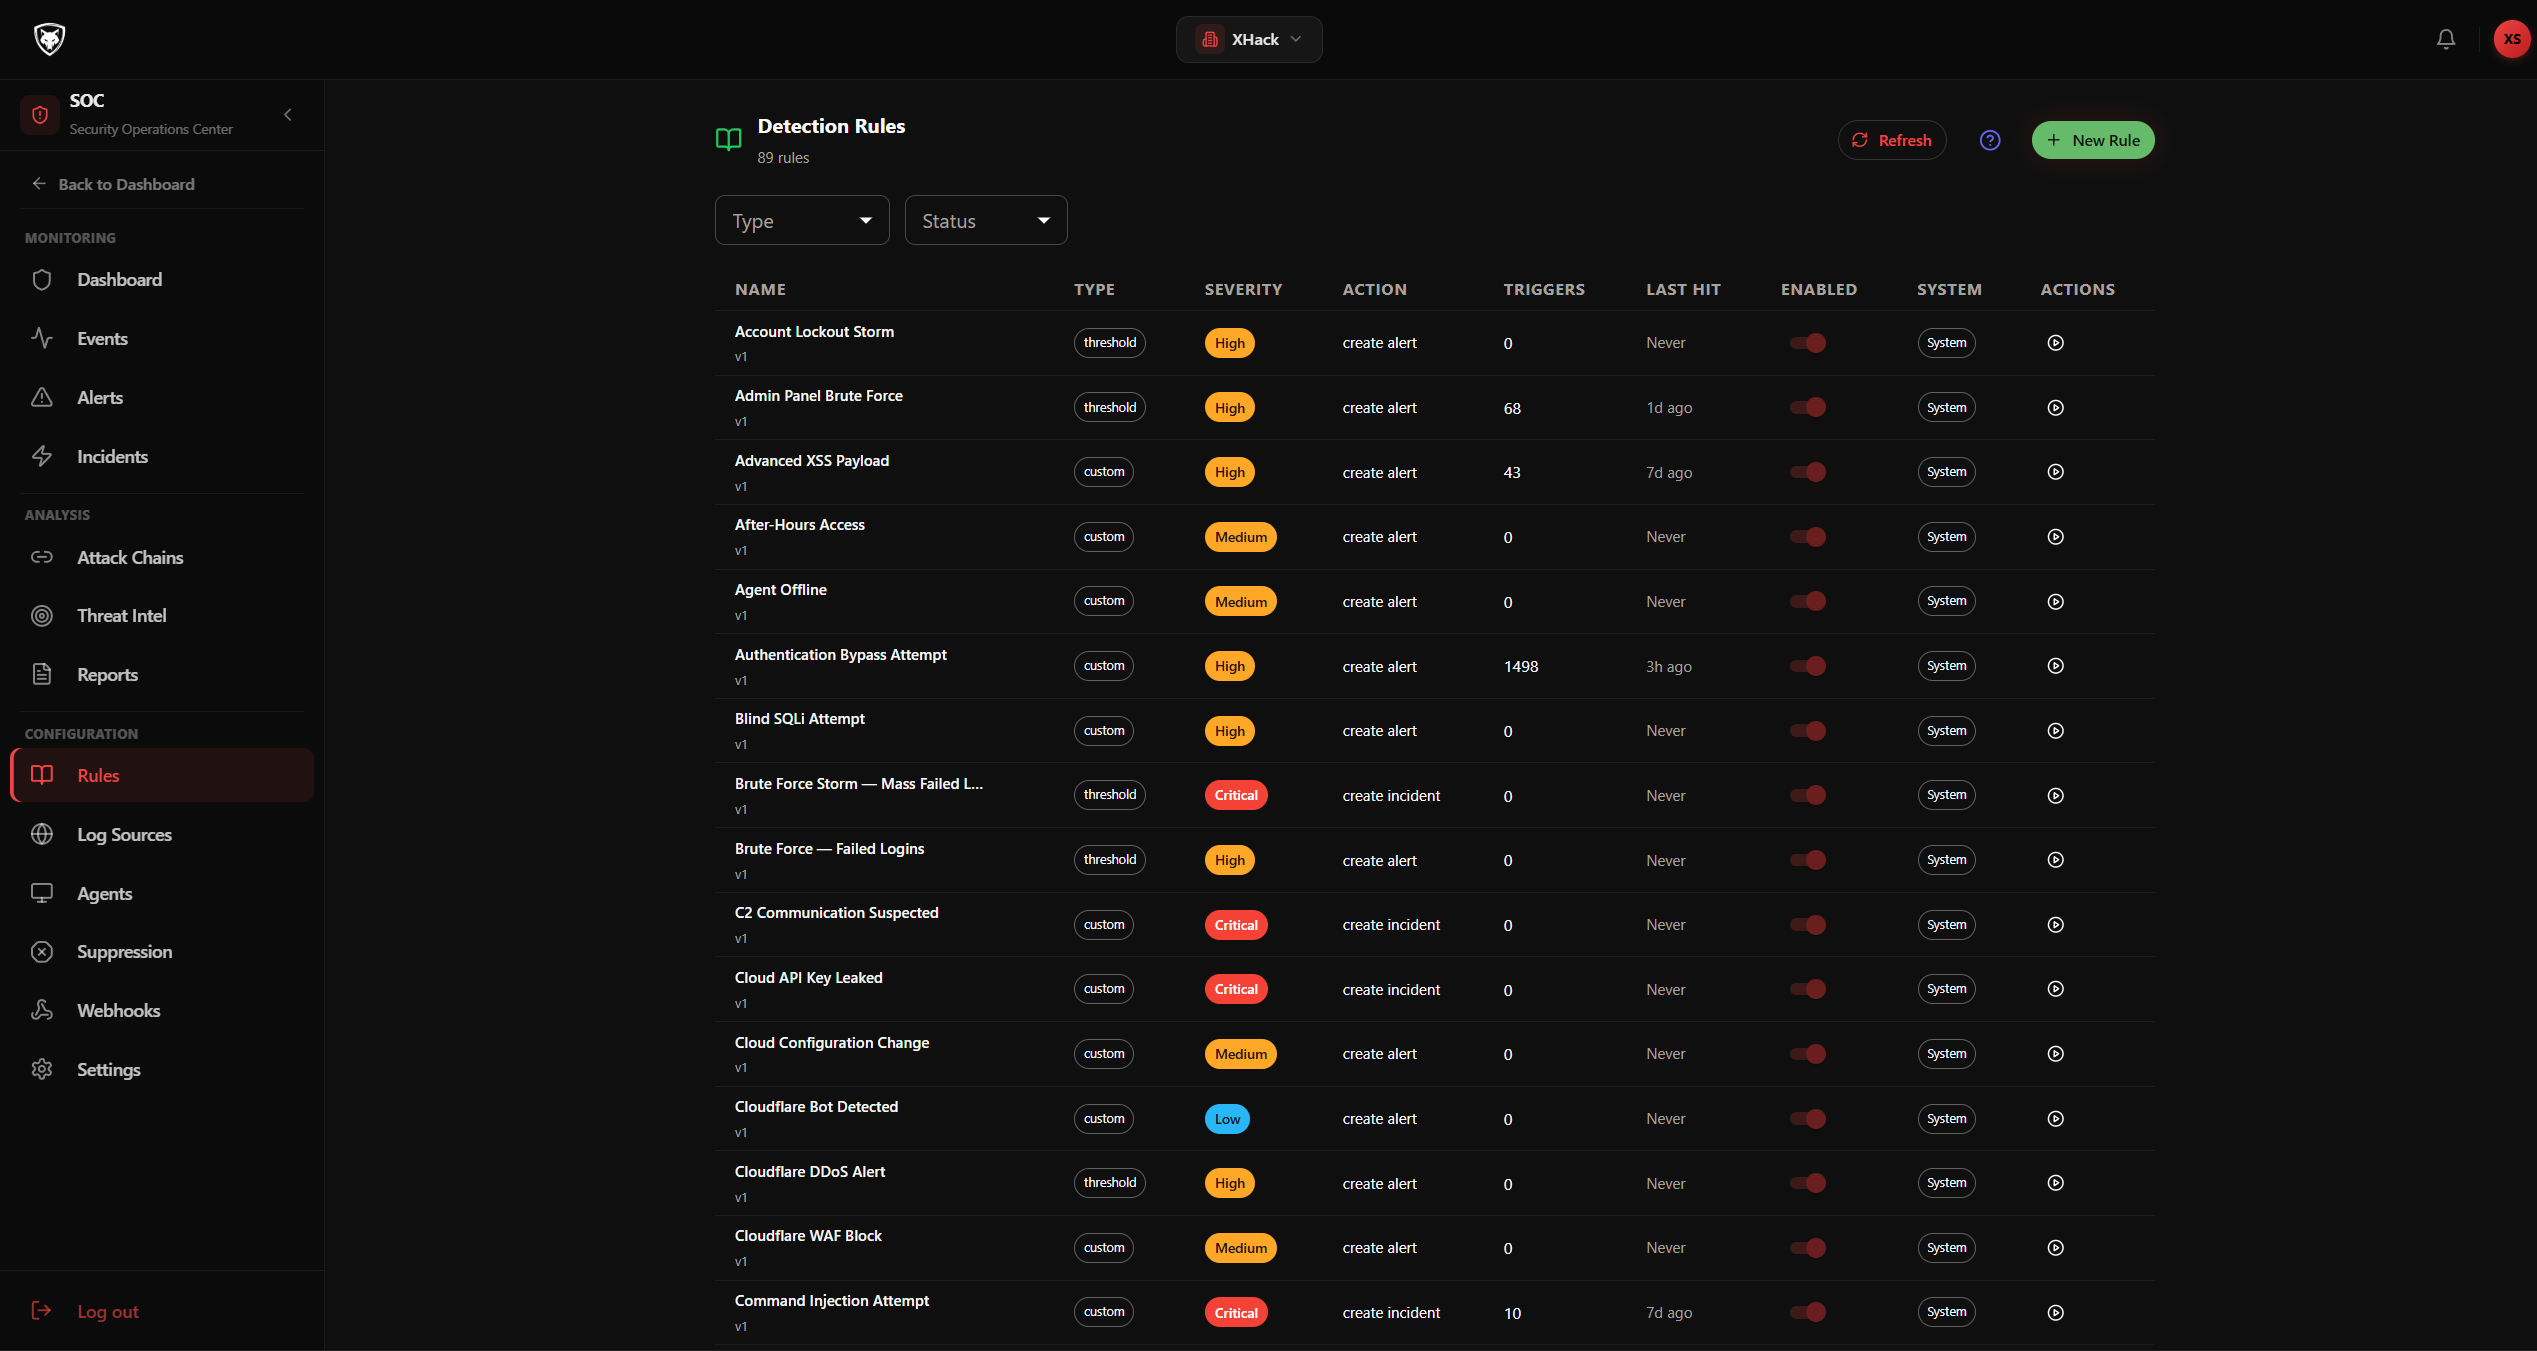
Step 1 — Open the Rules page
Click SOC → Rules in the sidebar. The page lists every rule active in your tenant. The columns are:
- Name with description below
- Type —
custom,threshold, orsigma - Severity —
critical,high,medium,low,info - Action — what happens when the rule fires (
alert,escalate,suppress,block,quarantine) - Triggers — total fire count
- Last Hit — when it last matched
- Enabled — toggle chip
- System — chip if it's a built-in rule
- Actions — Test, Edit (custom rules only), Delete (custom rules only)
Filter by Type, Status (Enabled / Disabled), or click Clear to reset.
Step 2 — Read the rule syntax help
Before you write a rule, click Help (blue icon, top right). The dialog has four tabs:
- Custom Rules — explains the field-condition syntax with operators:
equals,not_equals,contains,not_contains,regex,greater_than,less_than,in_list,not_in_list. Includes a worked example. - Threshold Rules — explains the JSON shape for threshold rules and gives an example.
- Sigma Rules — explains the YAML Sigma format with an example.
- Available Event Types and Condition Fields — the full list of event types and fields you can match on.
Read the tab that matches the rule type you're about to write.
Step 3 — Write your first custom rule
- Click Add Rule (green button with sparkles icon).
- In the Create Detection Rule dialog:
- Name — e.g.
SQL injection in query parameter - Description — what this rule catches in plain English
- Type —
custom - Severity —
high - Action —
alert
- Name — e.g.
- Write the rule body in Rule Content. For a custom rule, that's a YAML block describing the conditions:
conditions: - field: request.url operator: regex value: "(union\\s+select|or\\s+1=1|';\\s*drop)" - field: event.type operator: equals value: http_request - Make sure Enabled is on.
- Click Create.
The rule is now live and starts evaluating incoming events.
Step 4 — Use the AI rule generator
If you don't want to write the rule body by hand:
- In the same Create Detection Rule dialog, click Generate Rule with AI (magic wand icon).
- Describe the rule in plain English in the input that appears, e.g. "Alert when more than 5 failed login attempts come from the same IP within 2 minutes."
- The AI generates a draft with suggested name, severity, action, and rule body.
- Click Accept to use the draft, Regenerate to try again, or Discard to write it yourself.
The AI is good at scaffolding — review the generated rule before saving and tweak the field names if needed.
Step 5 — Test before going live
Always test a rule against a sample event before relying on it in production.
- Find your new rule in the table.
- Click the Test action button on the row.
- The Test Rule dialog opens with a textarea labeled "Paste JSON event to test...".
- Paste a real event JSON (you can grab one from the SOC → Events page).
- Click Run (play icon).
- The result shows either MATCHED in red or NO MATCH in green.
- Iterate on the rule body until it matches the events you want and ignores the ones you don't.
Step 6 — Write a threshold rule
Threshold rules count matching events over a sliding time window before firing. Use them for brute force detection, login enumeration, and rate-based attacks.
- Click Add Rule.
- Set Type to
threshold. Two extra fields appear:- Threshold Count — e.g.
5 - Window (minutes) — e.g.
2
- Threshold Count — e.g.
- Fill in the rule body with the conditions for individual events that count toward the threshold.
- Save.
The rule fires when Threshold Count matching events occur within Window minutes from the same source.
Step 7 — Configure log sources
Rules need events. Open SOC → Log Sources.
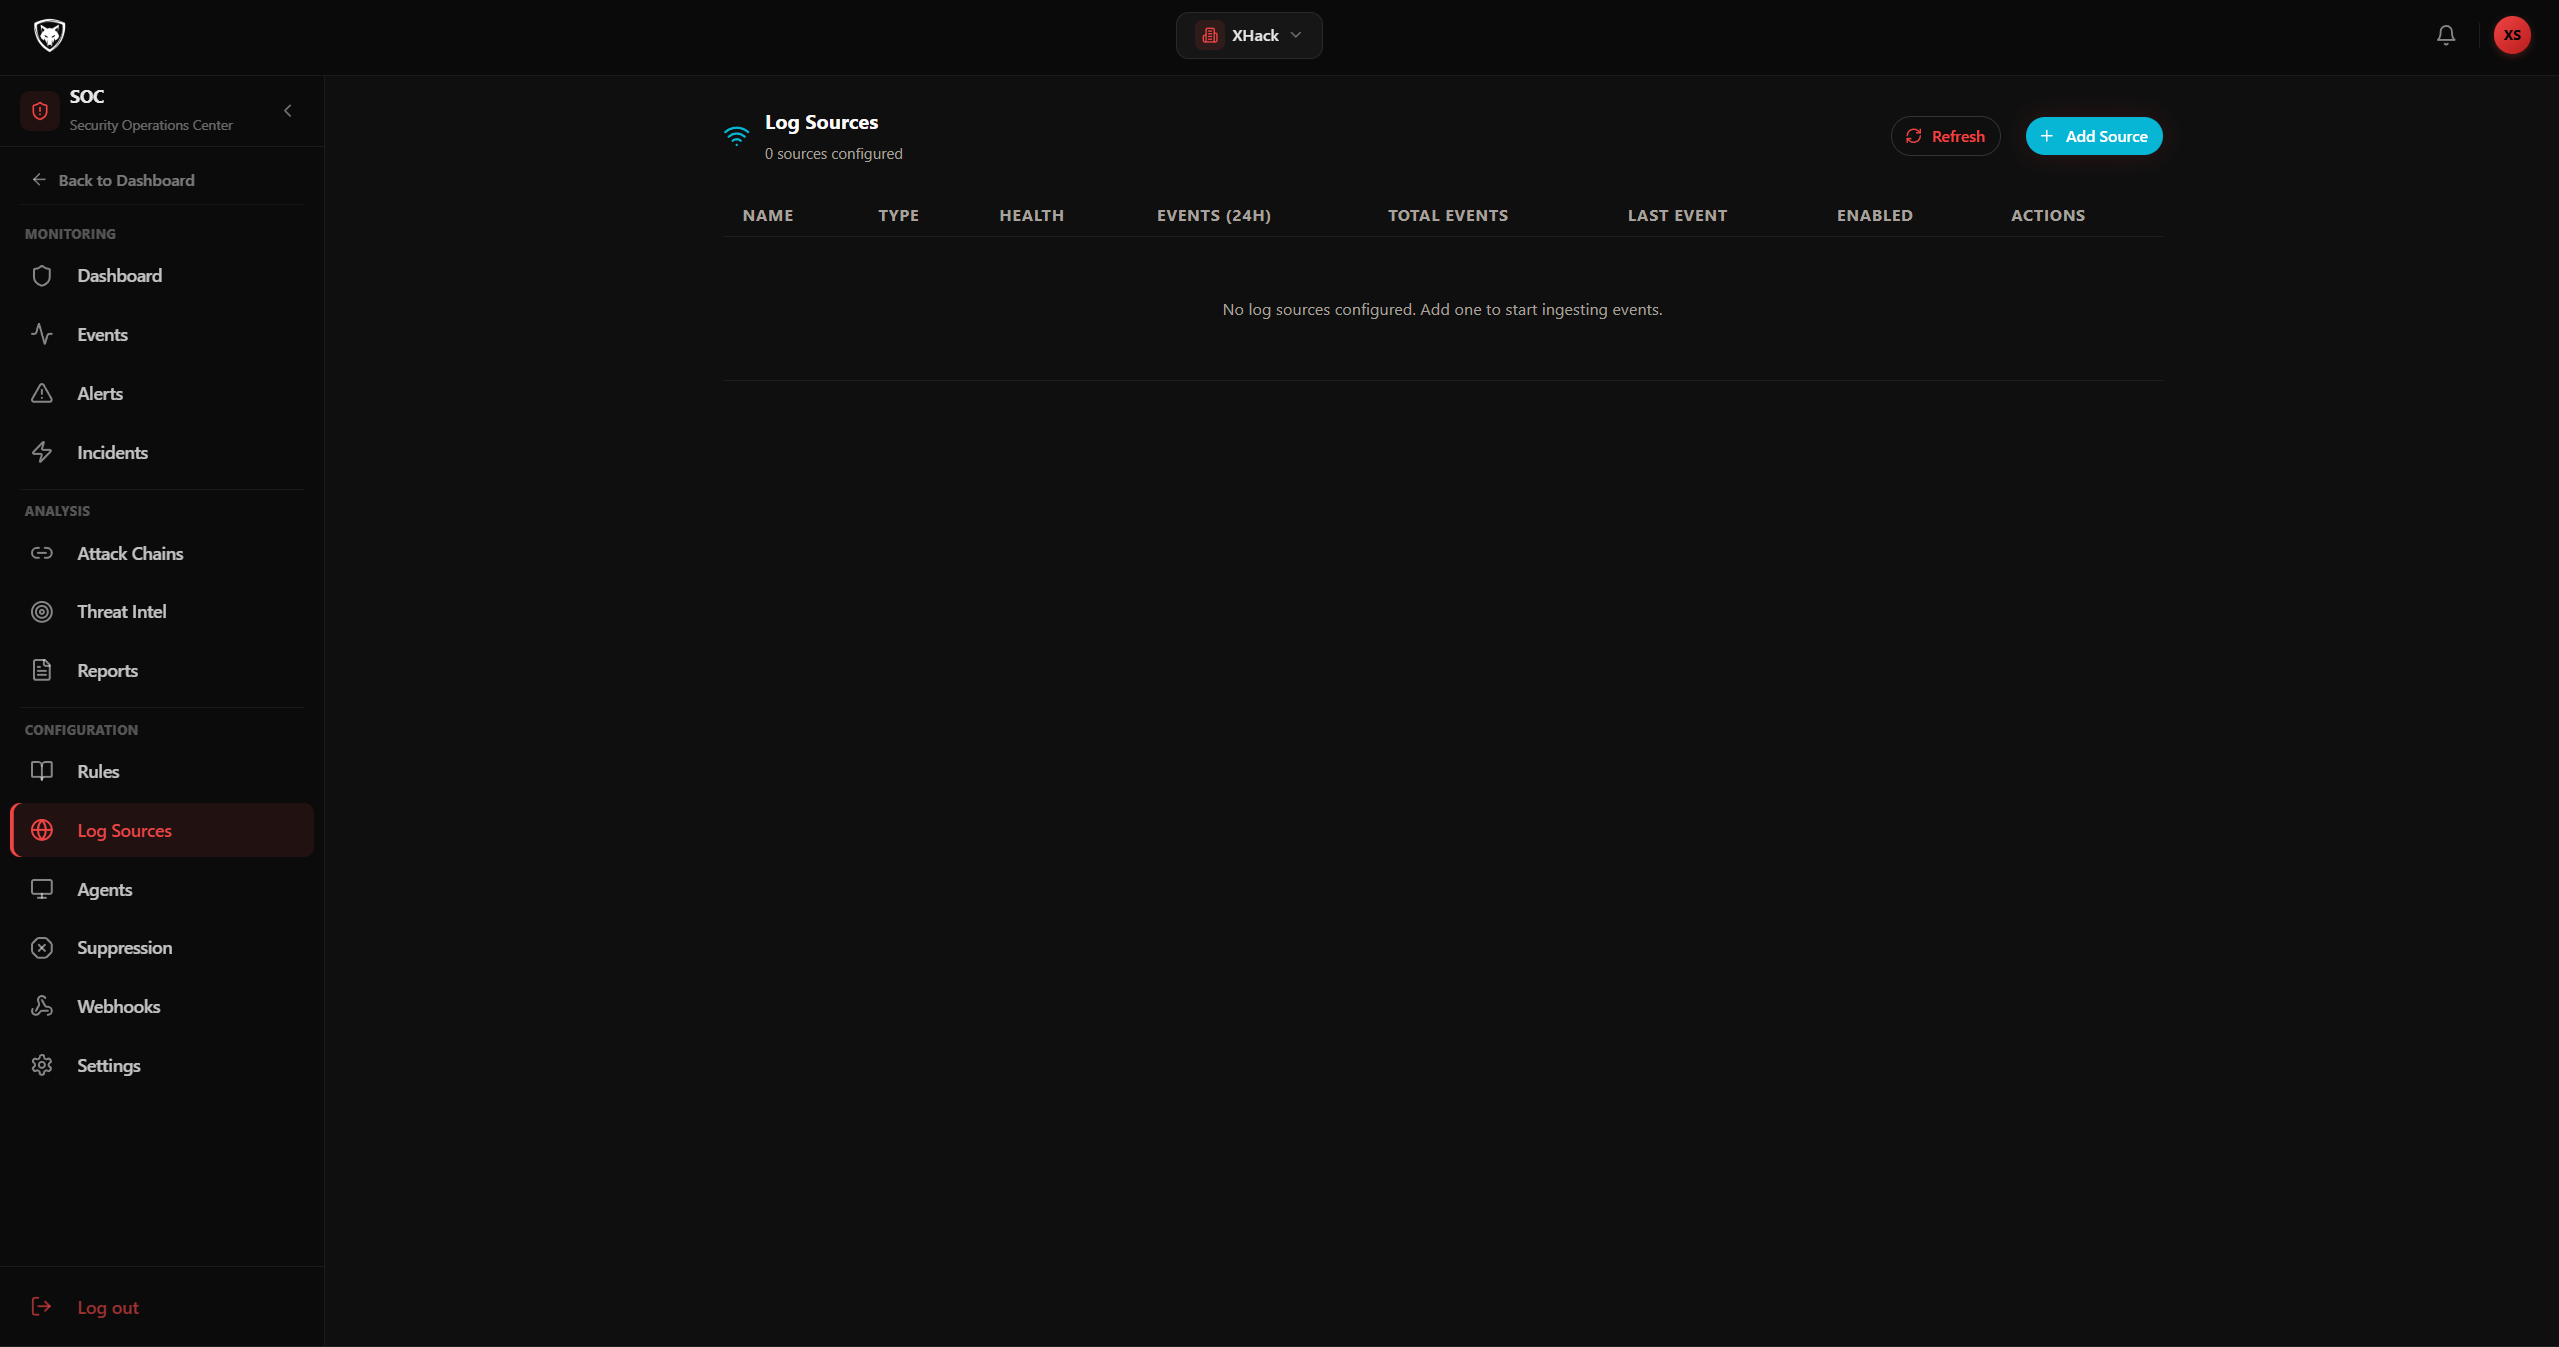
- Click Add Source.
- Pick a Source Type from the dropdown:
wazuh— Wazuh managersyslog_udp/syslog_tcp— generic syslogwindows_event— Windows Event Forwardingelastic— Elasticsearchsplunk— Splunk forwarderwebhook— generic JSON over HTTPSn8n— n8n HTTP Request nodefilebeat— Beats outputcloudflare— Cloudflare API pollingcustom_api— your own APIfile— file ingestion
- Fill in the type-specific fields. For Cloudflare you'll need API Token, Zone ID, optionally Account ID, and a poll interval.
- Click Test Connection if the type supports it (Cloudflare does).
- Click Create.
After saving, the source detail view shows an Ingest Token, an Ingest Endpoint, and an Integration Guide — copy-paste config for your sender (rsyslog, ossec.conf, filebeat.yml, n8n, curl).
The Health column on the sources list tells you the source is healthy, degraded, offline, or unknown.
Step 8 — Suppress false positives
When a rule keeps firing on a known-safe pattern, suppress it instead of disabling the rule.
Open SOC → Suppressions.
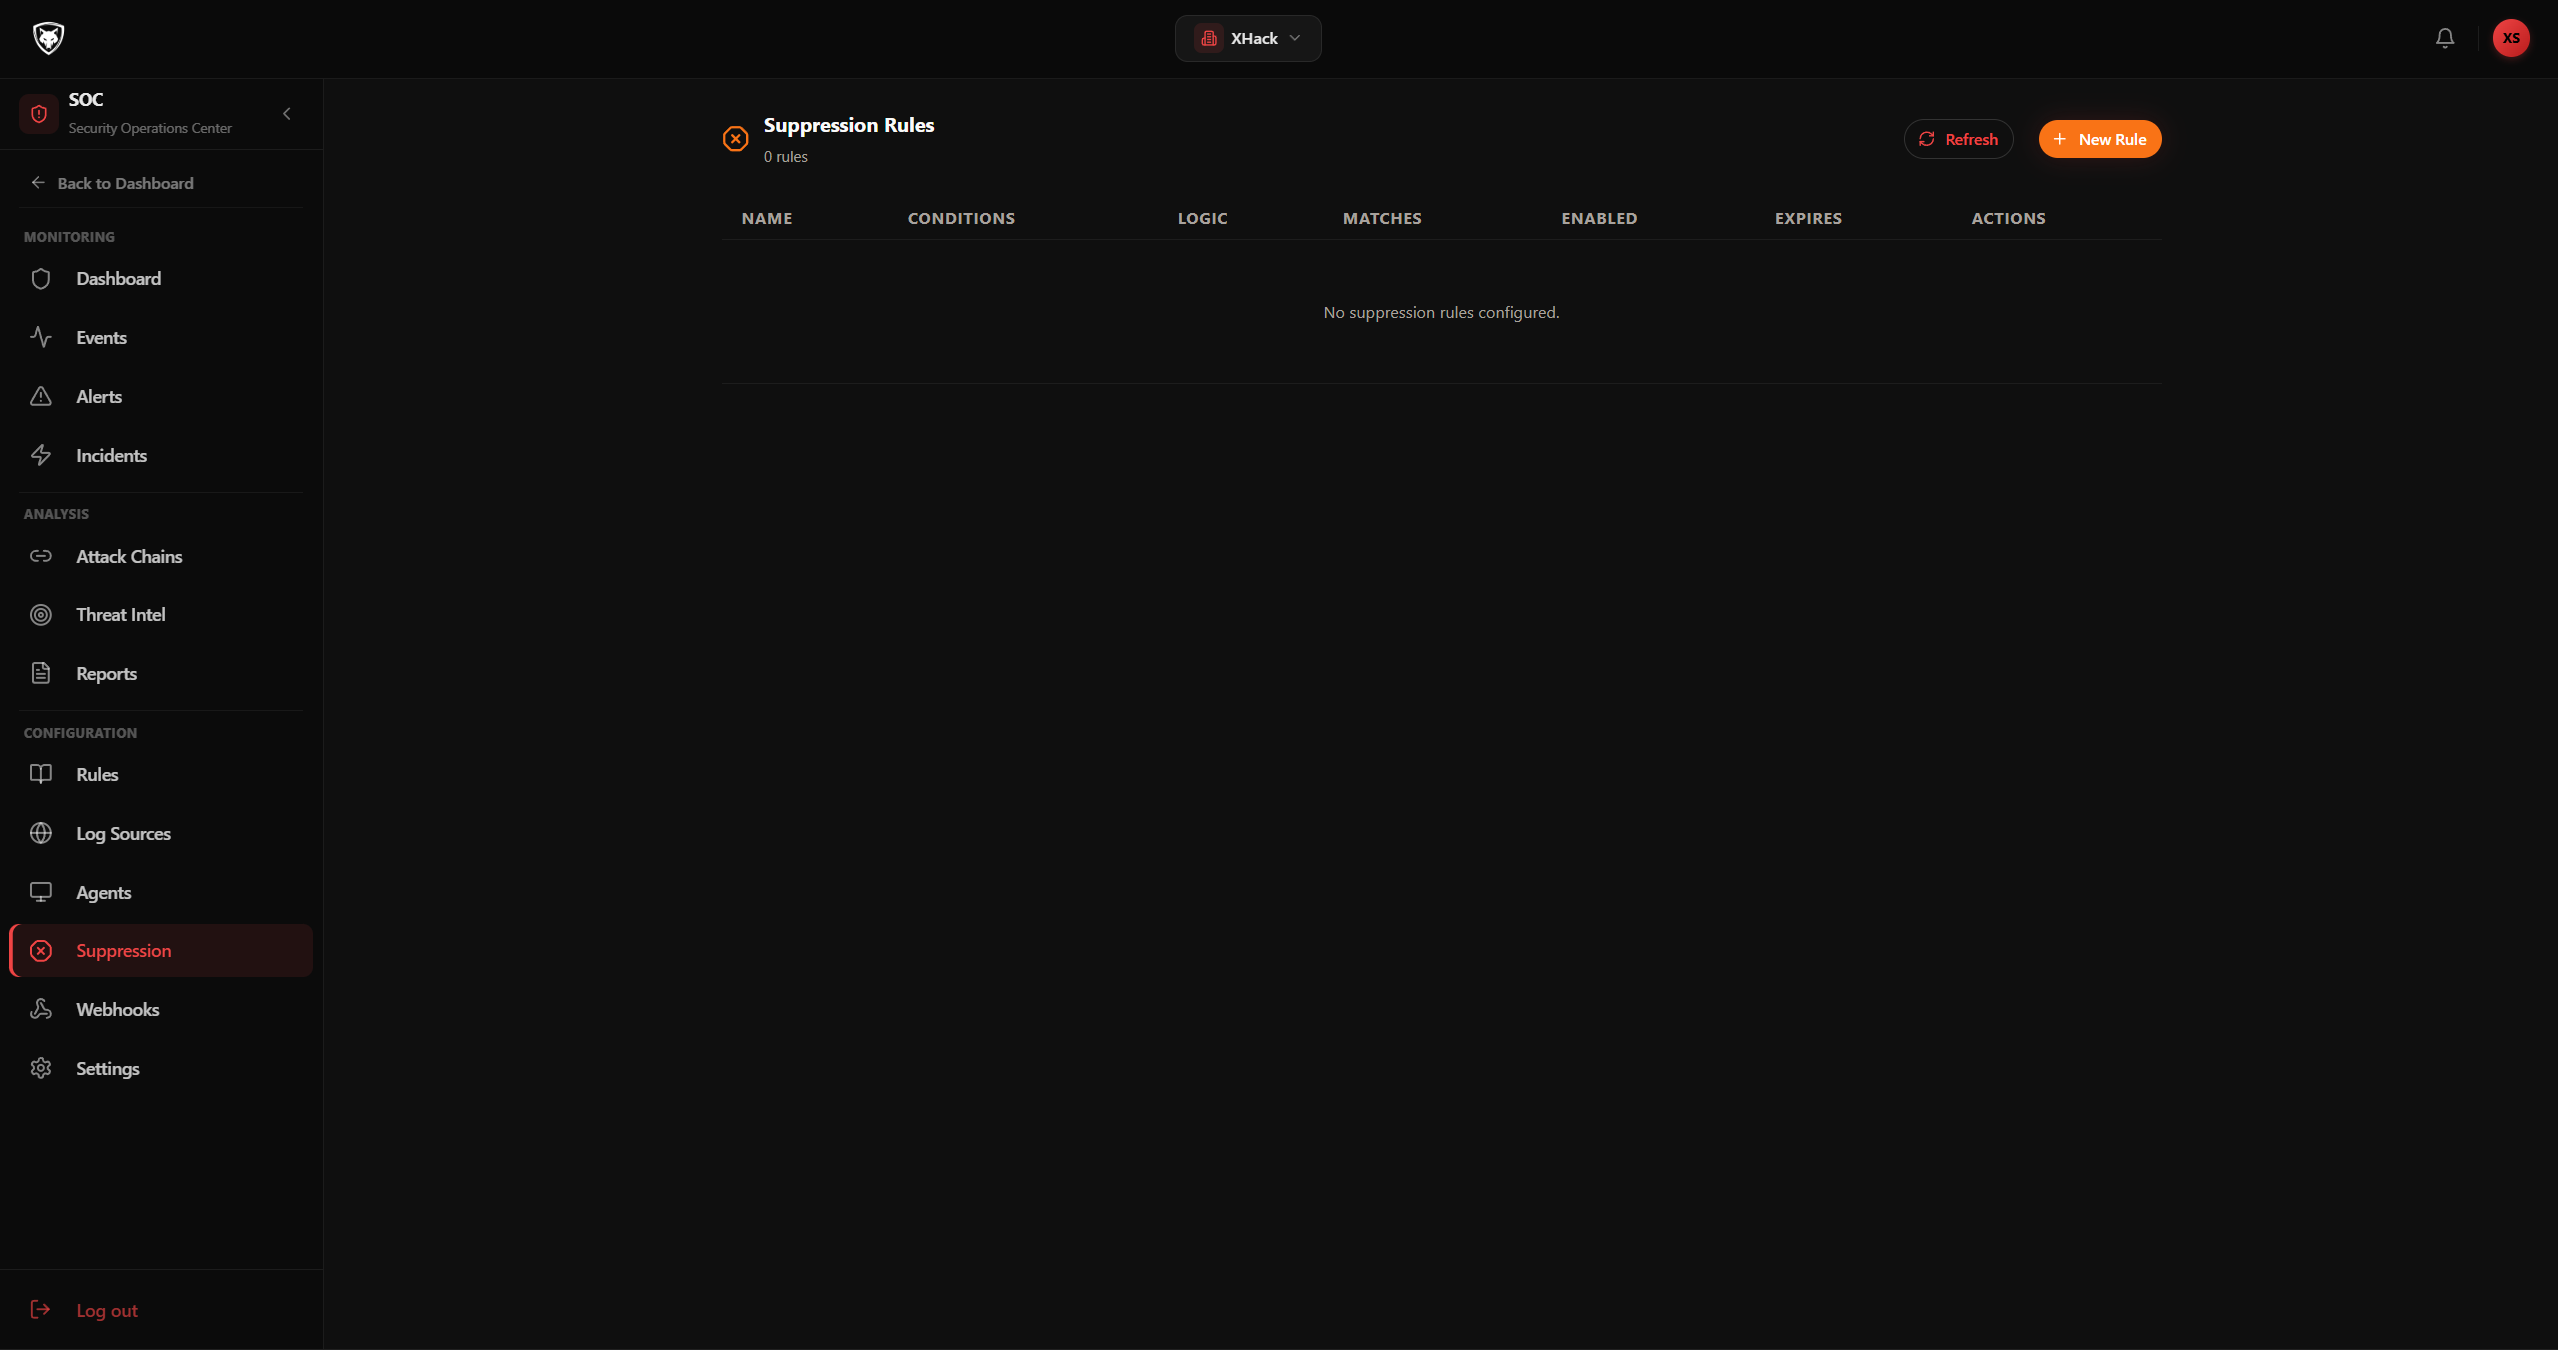
- Click Add Suppression Rule.
- Fill in Name and Description.
- Pick Condition Logic:
ANDorOR. - Click Add Condition to add filter rows. Each has Field, Operator, Value.
- Optionally set Expires At so the suppression auto-removes.
- Click Create.
The Matches column tracks how many alerts each suppression has silenced. Use that to spot suppressions that have grown overly broad.
Tips and best practices
- Always test rules before enabling. The Test button is one click. There's no excuse for rolling out an untested rule.
- Start with the pre-built rules. XHack ships rules for common attack classes (SQL injection, XSS, command injection, Log4Shell). Enable those first, watch the noise, then add custom rules.
- Use suppressions, not disables. A suppression is targeted and reversible. Disabling a rule blinds you completely.
- Use threshold rules for brute force, custom rules for known signatures. They serve different purposes. Mix them.
- Document your custom rules. Use the Description field. Six months from now you won't remember why you wrote a rule, and neither will your teammates.
- Watch the Triggers column. A rule that's triggered 50,000 times in a week is probably too broad. A rule that has never triggered is either dead code or too narrow.
Privacy
Rules, log sources, suppressions, ingest tokens, and the events they evaluate are all scoped to your tenant. Cloudflare API tokens, Wazuh credentials, and webhook secrets are Fernet-encrypted at rest. AI rule generation runs server-side; the only thing sent to the model is your text description — never your historical events.
Related
Try XHack AI Now
Experience the full power of XHack directly in your browser. No installation required.
Launch XHack AI