
Asset Management
How to register, verify, and manage every domain, IP, API, and application your organization protects.
Asset Management
This page is the playbook for registering and managing assets — the foundation every other tool in the platform builds on. You can't run a VA scan without an asset, can't add an LLM endpoint to AI Probe without one, and can't ingest events into the SOC for an asset that isn't tracked.
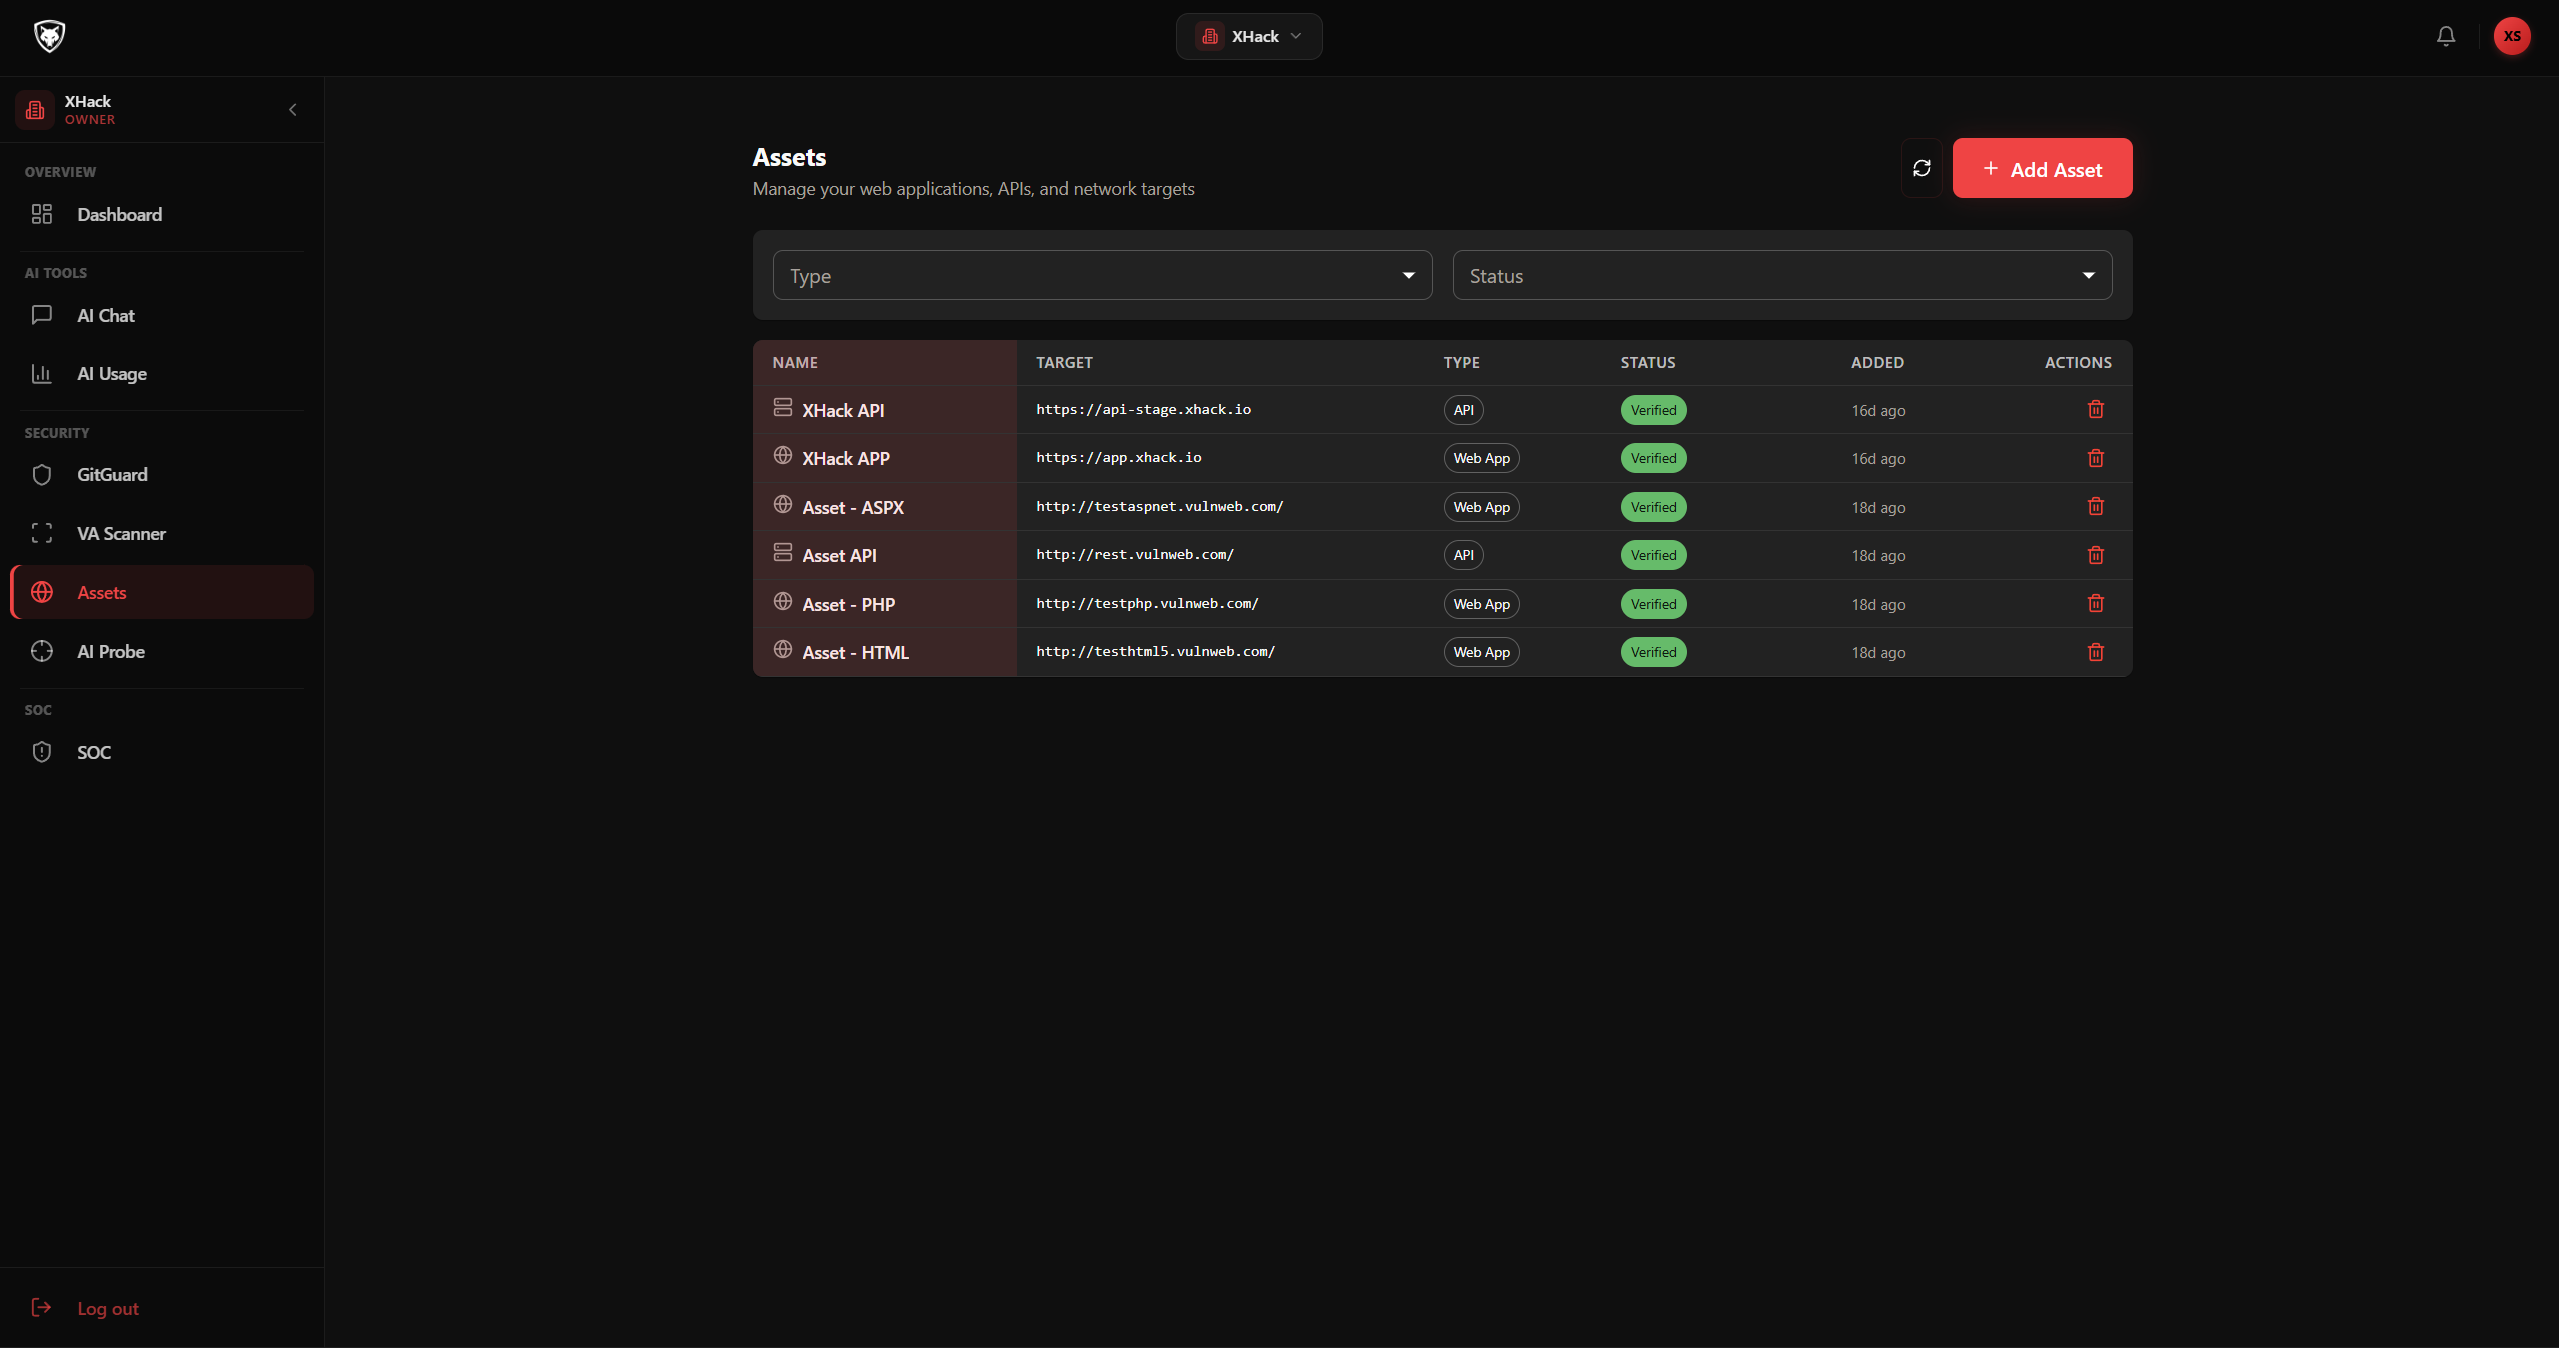
Step 1 — Open the Assets page
Click Assets in the main sidebar. The header shows "Assets — Manage your web applications, APIs, and network targets" with a Refresh button and an Add Asset button on the right.
The filters below let you narrow the table:
- Type —
All Types,Web Application,API,IP Address,IP Range,Network - Status —
All Statuses,Verified,Pending Admin,Pending File,Unverified,Rejected
The table columns are: Name (with type icon), Target (monospace), Type (chip), Status (color-coded chip), Added (time ago), Actions (Verify, Delete).
On mobile, the table collapses into a card view with the same fields.
Step 2 — Add an asset
- Click Add Asset (top right).
- The Add New Asset dialog opens.
- Fill in the fields:
- Name — friendly label, e.g.
My Website - Target — the actual URL or IP, e.g.
https://example.comor192.168.1.1 - Asset Type — pick
Web Application,API,IP Address,IP Range, orNetwork - Description — optional, what this asset is and who owns it
- Tags — comma-separated, e.g.
production, frontend
- Name — friendly label, e.g.
- If you picked an IP-based type, an info alert appears: "IP-based assets require admin verification. Your asset will be pending until approved by a platform administrator."
- Click Add Asset.
The asset appears in the table with the appropriate status:
- Pending File — for URL/web assets, you need to verify ownership via a file upload
- Pending Admin — for IP-based assets, a platform admin must approve
Step 3 — Verify a URL asset
URL-based assets need a one-time ownership check before scans can run against them.
- Find the asset in the table.
- Click Verify in the actions column.
- The Verify Asset dialog opens.
- Click Generate Verification File.
- The dialog now shows three steps:
- Step 1: Download verification file — click Download {filename}.txt
- Step 2: Upload to your server — copy the URL path shown (e.g.
https://example.com/xhack-verify-abc123.txt) and upload the file there. The file should be served as plain text from the exact path shown. - File content (for reference) — the expected content, with a copy button
- The dialog shows a token expiry date. You have until that date to complete verification — after that, you'll need to regenerate.
- Once the file is live, click Verify Now.
- The platform fetches the URL and checks the contents. On success, the asset status flips to Verified (green).
If verification fails, the dialog shows the error (file not found, wrong content, redirected, etc.). Fix the issue and click Verify Now again.
Step 4 — Wait for admin approval (IP assets)
IP-based assets cannot be self-verified — they require human approval to prevent abuse. After you submit, the asset shows Pending Admin status. A platform administrator reviews and approves or rejects it.
You'll get an in-app notification when the approval decision is made. If approved, the status flips to Verified. If rejected, you'll see the reason in the asset detail.
Step 5 — Use a verified asset
Once an asset is Verified, it becomes available everywhere in the platform that needs an asset:
- VA → Start scan — pick the asset from the dropdown
- AI Probe → New Target — register the asset's URL as the endpoint
- SOC → Log Sources — set up event ingestion for the asset
You don't have to do anything special to make an asset available — verification is the only gate.
Step 6 — Manage existing assets
To delete an asset:
- Find it in the table.
- Click Delete in the actions column.
- Confirm the deletion.
Deleting an asset cascades to its scans, findings, and history — be sure before you click.
To re-verify an asset whose verification expired (e.g. you removed the file and want to re-add it later):
- Find the asset.
- Click Verify to start the flow over.
Tips and best practices
- Use clear naming.
Production websiteis better thanweb-1. Future you will thank present you. - Use tags for environments.
production,staging,internal— then filter the asset list by tag when you want to see only one slice. - Don't delete assets to clear scan history. Use the scan deletion in the VA tool instead. Deleting an asset cascades to findings and you'll lose the audit trail.
- Verify before sharing the platform with your team. A team member can't run scans against unverified assets, so the verification step needs to be done before you ask them to start.
- Plan for re-verification. Verification tokens expire. If you turn off the verification file after verification, the asset stays verified — but if you ever need to re-verify, you'll need to upload it again.
- Use the description field. Note the owner team, the criticality, and any special handling instructions. The Assets page is your single source of truth.
Privacy
Asset records, verification tokens, and asset metadata are scoped to your tenant. Verification checks respect the platform's SSRF protection so you cannot use them to probe internal networks. Tokens expire after a configurable window if not confirmed.
Related
Try XHack AI Now
Experience the full power of XHack directly in your browser. No installation required.
Launch XHack AI