Table of contents
38
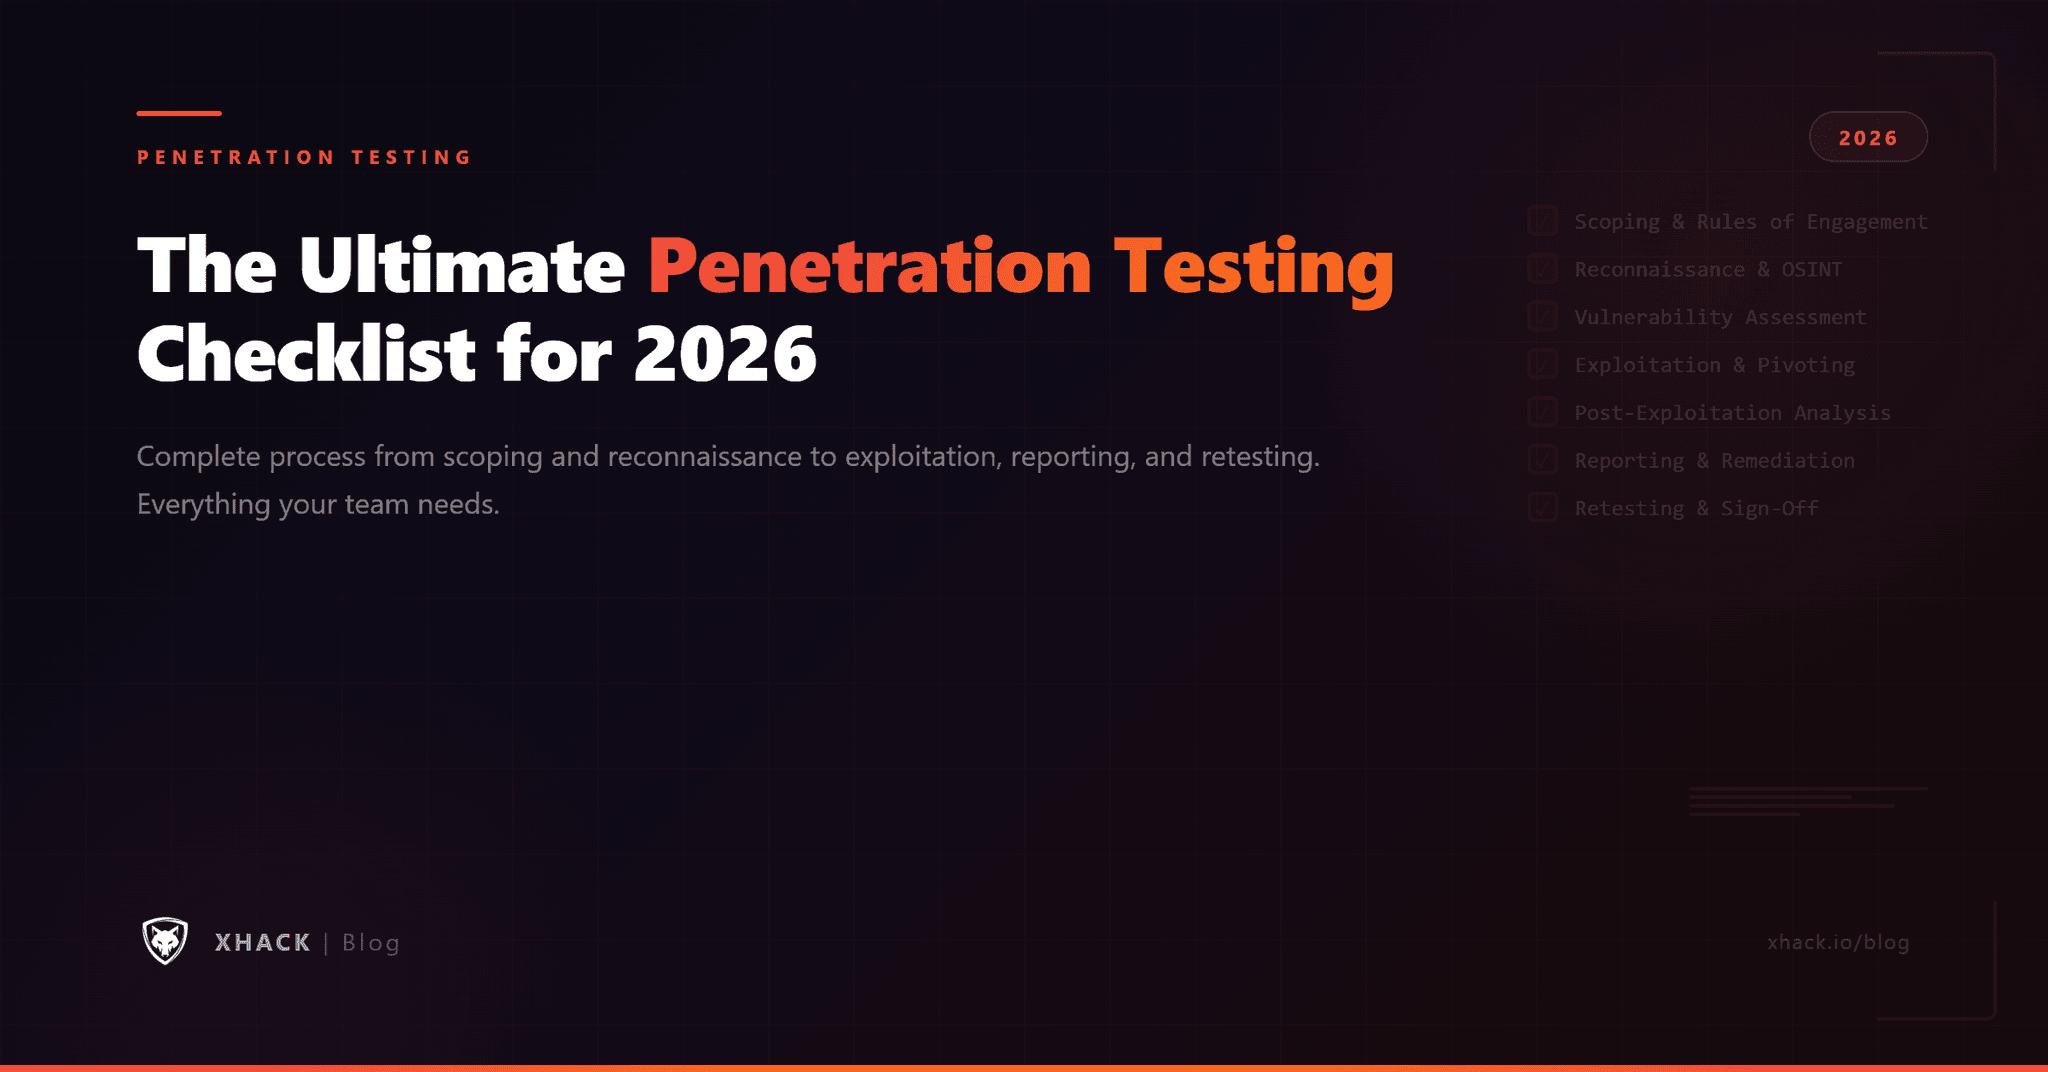
Read this in 30 seconds: A proper pentest has 7 phases: scoping, rules of engagement, reconnaissance, vulnerability assessment, exploitation, post-exploitation, and reporting. Most “penetration testing checklist” articles give you a generic bullet list with zero context. This guide walks through every phase with real deliverables, specific tools, gotchas that waste hours, and the exact documents you need at each stage. Plus a downloadable-ready checklist you can use on your next engagement.
90% of penetration tests fail before a single packet is sent.
Not because the pentesters lack skill. Because the scoping was garbage.
Wrong IP ranges. Undefined rules of engagement. No emergency contacts. Testing windows that overlap with a production deployment. And my personal favorite: “just test everything” as the entire scope document.
I’ve seen pentest reports that cost $50k deliver less value than a free Nessus scan because nobody spent 2 hours getting the scoping right. The exploitation is the fun part. But the boring paperwork before and after is what separates a penetration testing checklist that works from one that ends up in a legal dispute.
But here’s the catch.
Every penetration testing checklist online is either a 50-item bullet list with no explanation, or a 200-page framework document that nobody reads. There’s nothing in between for the people who actually run engagements.
So I built one. A complete penetration testing checklist that covers every phase, every deliverable, and every mistake I’ve made or seen others make across years of engagements.
This is the most important section of any penetration testing checklist. Skip it and everything downstream falls apart.
Pre-engagement is where you define what gets tested, how it gets tested, and what happens when something breaks. It’s also where legal protections get established for both sides.
Here’s what needs to be nailed down before anyone touches a keyboard:
| Item | Details | Why It Matters |
|---|---|---|
| Test type | Network, web app, API, cloud, mobile, social engineering, physical | Determines methodology, tools, and team composition |
| Target inventory | Exact IPs, URLs, domains, environments | “Test everything” is not a scope. Get specific. |
| In-scope vs out-of-scope | What CAN and CANNOT be touched | Miss this and you end up taking down production |
| Testing approach | Black box, grey box, or white box | Black box = no info. White box = full access. Grey box = credentials provided |
| Environment | Production, staging, development | Never test production without explicit written approval |
| Testing window | Specific dates and hours | Avoid deployment days, maintenance windows, peak traffic |
| Point of contact | Technical + management contacts | When (not if) something breaks, who do you call? |
| Sensitive data handling | How to handle PII, credentials, sensitive files found | Legal requirement in most jurisdictions |
| Compliance requirements | PCI DSS, HIPAA, SOC 2, ISO 27001, CMMC 2.0 | The penetration testing checklist must align with compliance frameworks |
| Deliverables | Report format, presentation, retesting | Define expectations upfront to avoid arguments later |
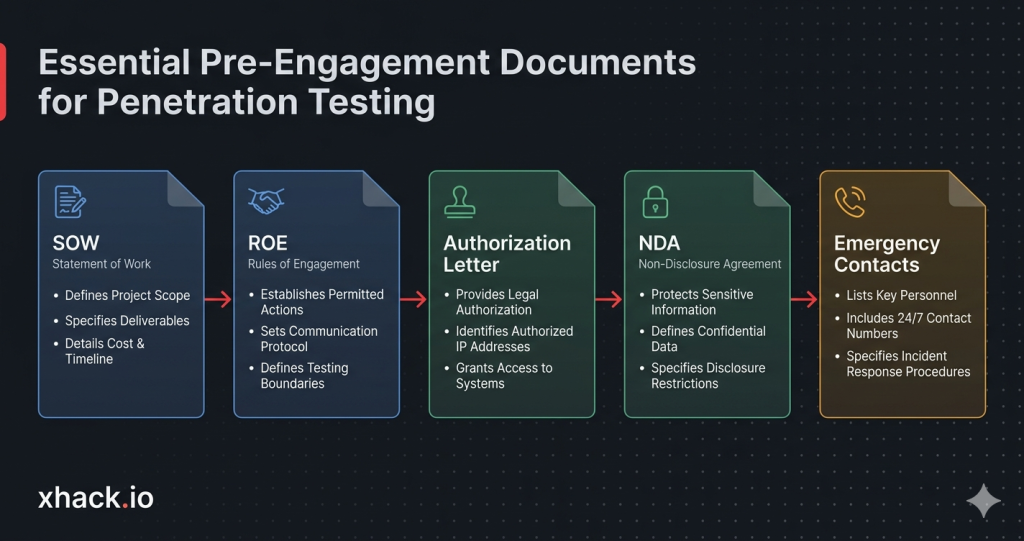
Every item on your penetration testing checklist should have paper backing it up:
1. Statement of Work (SOW) – The contract. Defines scope, timeline, cost, and deliverables. Both parties sign it.
2. Rules of Engagement (ROE) – The “how” document. What methods are allowed, what’s off-limits, escalation procedures, and communication channels.
3. Authorization Letter / Get Out of Jail Free Card – Written authorization from the asset owner explicitly permitting the test. Without this, you’re committing a crime. Not exaggerating.
4. Non-Disclosure Agreement (NDA) – Protects both sides. The client’s data stays confidential. The pentester’s methodology stays proprietary.
5. Emergency Contact Sheet – Names, phone numbers, and escalation paths for when things go sideways at 2 AM.
Let’s be real. I’ve seen engagements start without an authorization letter. I’ve seen scopes defined over Slack messages that disappeared. I’ve seen pentesters take down a production database because nobody told them the staging server shared the same database.
Get the paperwork right. Every time.
The Rules of Engagement (ROE) is the single most important document in your penetration testing checklist that isn’t the actual report. It defines the boundaries of what you can do, when you can do it, and what happens if something goes wrong.
Testing boundaries:
Communication protocols:
Escalation procedures:
Legal protections:
| Mistake | What Happens | How to Avoid It |
|---|---|---|
| No DoS clause | Pentester runs aggressive scans, app crashes, client blames tester | Explicitly state whether stress testing is allowed |
| Shared infrastructure not documented | Pentester tests client’s cloud instance, accidentally hits another tenant | Map all shared services in scoping |
| No real-time critical reporting | Pentester finds active ransomware on day 1, doesn’t tell client until report | Define “stop everything and call” criteria |
| Testing window too narrow | 3-day window for a 500-host network = rushed, incomplete results | Match scope complexity to testing duration |
| No third-party notification | Client’s infrastructure runs on AWS/Azure, cloud provider flags the test as an attack | Notify cloud providers and get testing authorization |
This phase of the penetration testing checklist isn’t glamorous. But it’s the difference between a successful engagement and a lawsuit. Every penetration testing checklist that skips ROE details is setting you up for failure.
Now we get to the fun part. Reconnaissance is where you map the target’s attack surface before touching anything exploitable.
Your penetration testing checklist for recon should split into two categories: passive (they can’t detect you) and active (they might notice).
Passive recon means gathering information without directly interacting with the target’s systems. No packets sent. No logs generated.
Domain and infrastructure intel:
People and organizational intel:
Technology fingerprinting:
Active recon means you’re sending packets to the target. This is where your penetration testing checklist crosses into detectable territory.
Network scanning:
Web application scanning:
Email and authentication probing:
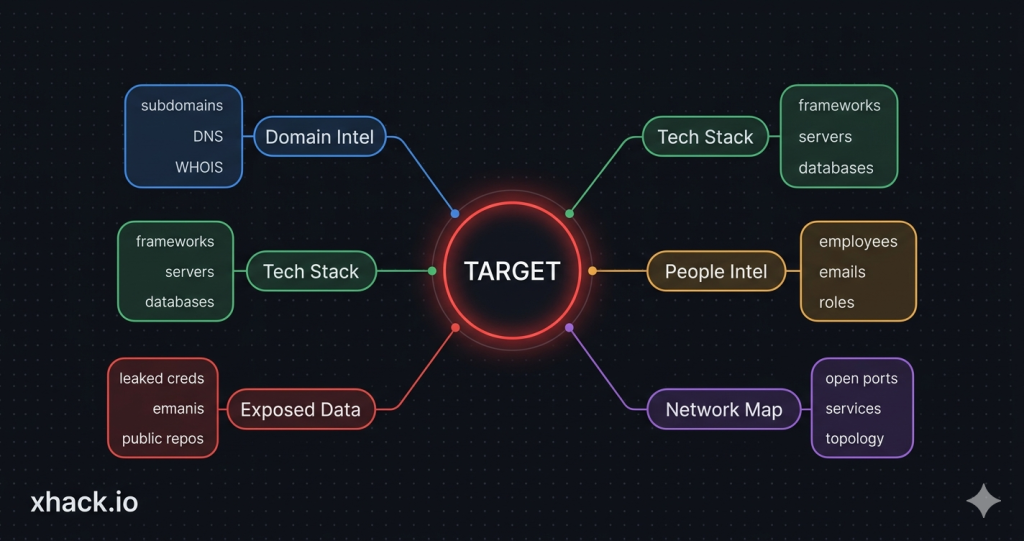
By the end of reconnaissance, your penetration testing checklist should produce:
| Deliverable | Contents |
|---|---|
| Asset inventory | All discovered IPs, domains, subdomains, services |
| Technology stack map | Web frameworks, server OS, databases, third-party services |
| People map | Key employees, email formats, social engineering targets |
| Exposed data | Leaked credentials, open repos, exposed files |
| Attack surface diagram | Visual map of entry points and relationships |
This phase of the penetration testing checklist is where you move from “what exists” to “what’s broken.”
Vulnerability assessment sits between reconnaissance and exploitation. You’re identifying weaknesses but not exploiting them yet. Think of it as marking the doors before you try picking the locks.
Run the scanners first. They catch the low-hanging fruit fast:
Network vulnerability scanning:
Web application scanning:
Cloud configuration scanning:
Here’s the thing. Scanners miss business logic flaws every single time. This is where manual analysis on your penetration testing checklist separates a real pentest from a glorified vulnerability scan.
What scanners miss:
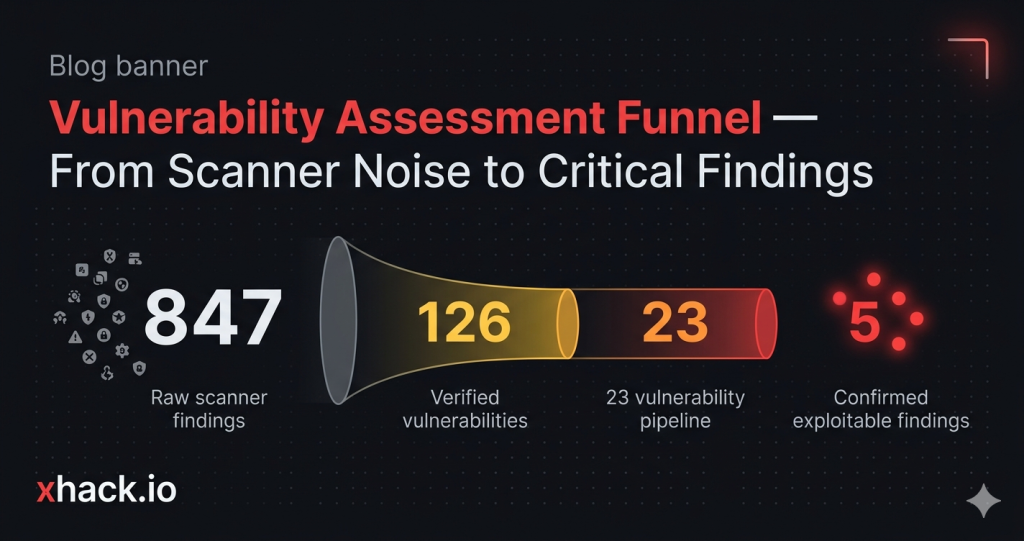
Not all vulnerabilities are equal. Your penetration testing checklist needs a prioritization framework:
| Priority | Criteria | Action |
|---|---|---|
| Critical | RCE, SQLi with data access, auth bypass to admin | Exploit immediately, notify client in real time |
| High | Privilege escalation, sensitive data exposure, SSRF | Exploit during engagement, include in findings |
| Medium | XSS (stored), CSRF, information disclosure | Document and attempt exploitation |
| Low | Missing headers, verbose errors, outdated libraries (no known exploit) | Document in report, deprioritize testing |
| Informational | Best practice violations, configuration suggestions | Include in appendix |
This is the phase everyone thinks about when they hear “penetration testing.” It’s also the phase that requires the most discipline on your penetration testing checklist.
Exploitation isn’t about showing off. It’s about proving business impact. “We got a shell” means nothing to a CISO. “We accessed 50,000 customer records through an API endpoint that bypasses authentication” gets budgets approved.
For each vulnerability:
Network penetration testing checklist – exploitation targets:
Web application exploitation targets:
Cloud exploitation targets:
Never exceed the scope. Never destroy data. Never modify production systems without explicit approval.
If you find a SQL injection, extract enough data to prove impact (2-3 rows, redacted). Don’t dump the entire database. If you get admin access, screenshot the dashboard. Don’t change passwords or create backdoors.
The penetration testing checklist for exploitation is as much about restraint as it is about skill. Document everything. Prove impact. Move on.
Post-exploitation answers the question every executive really wants answered: “If someone gets in, how bad can it get?”
This phase of the penetration testing checklist takes an initial foothold and tests how far an attacker could go inside the network.
From your initial foothold:
Privilege escalation:
Lateral movement:
Data access and impact assessment:
Every action in your post-exploitation penetration testing checklist should map to ATT&CK techniques:
| Action | ATT&CK Technique | Tactic |
|---|---|---|
| Credential dumping from memory | T1003.001 – LSASS Memory | Credential Access |
| Scheduled task for persistence | T1053.005 – Scheduled Task | Persistence |
| RDP to another server | T1021.001 – Remote Desktop | Lateral Movement |
| Disabling Windows Defender | T1562.001 – Disable Tools | Defense Evasion |
| Database dump of customer table | T1213 – Data from Information Repositories | Collection |
This ATT&CK mapping makes your penetration testing checklist findings directly actionable for the client’s SOC and detection engineering teams. Without this mapping, your penetration testing checklist report is just a list of problems without a defense roadmap.
The report is the product. Not the exploitation. Not the cool shell screenshots. The report.
This is the most underrated section of any penetration testing checklist. A technically brilliant pentest with a terrible report delivers zero value. A competent pentest with an exceptional report changes an organization’s security posture.
Every penetration testing checklist report should contain these sections:
1. Executive Summary (1-2 pages)
2. Scope and Methodology (1-2 pages)
3. Findings Summary Table
| # | Finding | Severity | CVSS | Status | ATT&CK ID |
|---|---|---|---|---|---|
| 1 | SQL Injection in /api/users | Critical | 9.8 | Exploited | T1190 |
| 2 | Default admin credentials on Jenkins | High | 8.1 | Exploited | T1078.001 |
| 3 | Missing network segmentation | High | 7.5 | Confirmed | T1021 |
| 4 | Stored XSS in comment field | Medium | 6.1 | Exploited | T1189 |
| 5 | Verbose error messages | Low | 3.7 | Confirmed | T1592 |
4. Detailed Findings (per vulnerability)
Each finding needs:
5. Attack Narrative
Walk through the complete attack chain as a story. “We started with phishing email X, gained credentials for user Y, escalated to admin Z, and accessed database containing 50k customer records.” This narrative is what executives remember and what gets budgets approved.
6. Remediation Roadmap
Prioritized list with timelines:
7. Appendix
Raw scan data, full tool output, methodology details, and compliance mapping.
Here’s the complete penetration testing checklist condensed into a single reference table. This is the penetration testing checklist you’ll actually use on engagements. Bookmark this, print it, tattoo it on your forearm. Whatever works.
A typical penetration testing checklist engagement runs 2-4 weeks depending on scope. Simple web app tests can finish in 1 week. Large enterprise network assessments with hundreds of hosts need 3-4 weeks minimum. The breakdown is usually 1-2 days for scoping, 2-3 days for recon, 3-5 days for vulnerability assessment and exploitation, 2-3 days for post-exploitation, and 3-5 days for reporting. Rushing any phase produces incomplete results.
A vulnerability scan runs automated tools that check for known CVEs and misconfigurations. It produces a list of potential issues but doesn’t prove exploitability or business impact. A penetration test uses that scan as a starting point, then adds manual testing, exploitation, post-exploitation, and attack chaining to demonstrate real-world impact. Your penetration testing checklist should always include both automated scanning and manual exploitation.
At minimum, run a full penetration testing checklist engagement annually with quarterly vulnerability assessments between tests. If your environment changes frequently (cloud-native, CI/CD deployments, regular feature releases), quarterly full pentests are recommended. Compliance frameworks like PCI DSS require annual testing at minimum. Between formal engagements, use continuous vulnerability scanning and AI-powered monitoring tools like XHack SOC to maintain visibility.
For a grey box penetration testing checklist engagement, provide standard user credentials for each application in scope, VPN access if testing internal infrastructure, API documentation and keys, network diagrams showing segmentation, and a list of known technologies and versions. Don’t provide admin credentials unless specifically testing admin functionality. The goal is simulating a compromised employee or post-phishing scenario, not an insider with full access.
Ask for their methodology documentation before the engagement starts. A legitimate provider should reference established frameworks like PTES (Penetration Testing Execution Standard), OWASP Testing Guide, OSSTMM, or NIST SP 800-115. They should provide a detailed scope document, ROE, and sample report. If they can’t produce these artifacts, or if their “report” is just a scanner export with a cover page, find a different provider. A proper penetration testing checklist is the bare minimum for a professional engagement.
That’s a wrap on the complete penetration testing checklist from scoping through reporting.
The penetration testing checklist isn’t complicated. But it requires discipline. The phases that feel boring (scoping, ROE, documentation) are the ones that determine whether your engagement delivers real security improvement or just a PDF that collects dust.
Run the penetration testing checklist properly. Map everything to MITRE ATT&CK. Feed your findings into continuous monitoring through XHack SOC or equivalent tools. And for the love of everything secure, get the authorization letter signed before you start.
Security operations are evolving from annual checkbox pentests to continuous security validation. The organizations that treat their penetration testing checklist as a living process, not a yearly chore, are the ones that actually get harder to breach.
Got a better penetration testing checklist workflow? Think I missed a critical phase? Hit me up on X. I respond to everything, even the people who think annual pentests are “good enough.”
Related articles